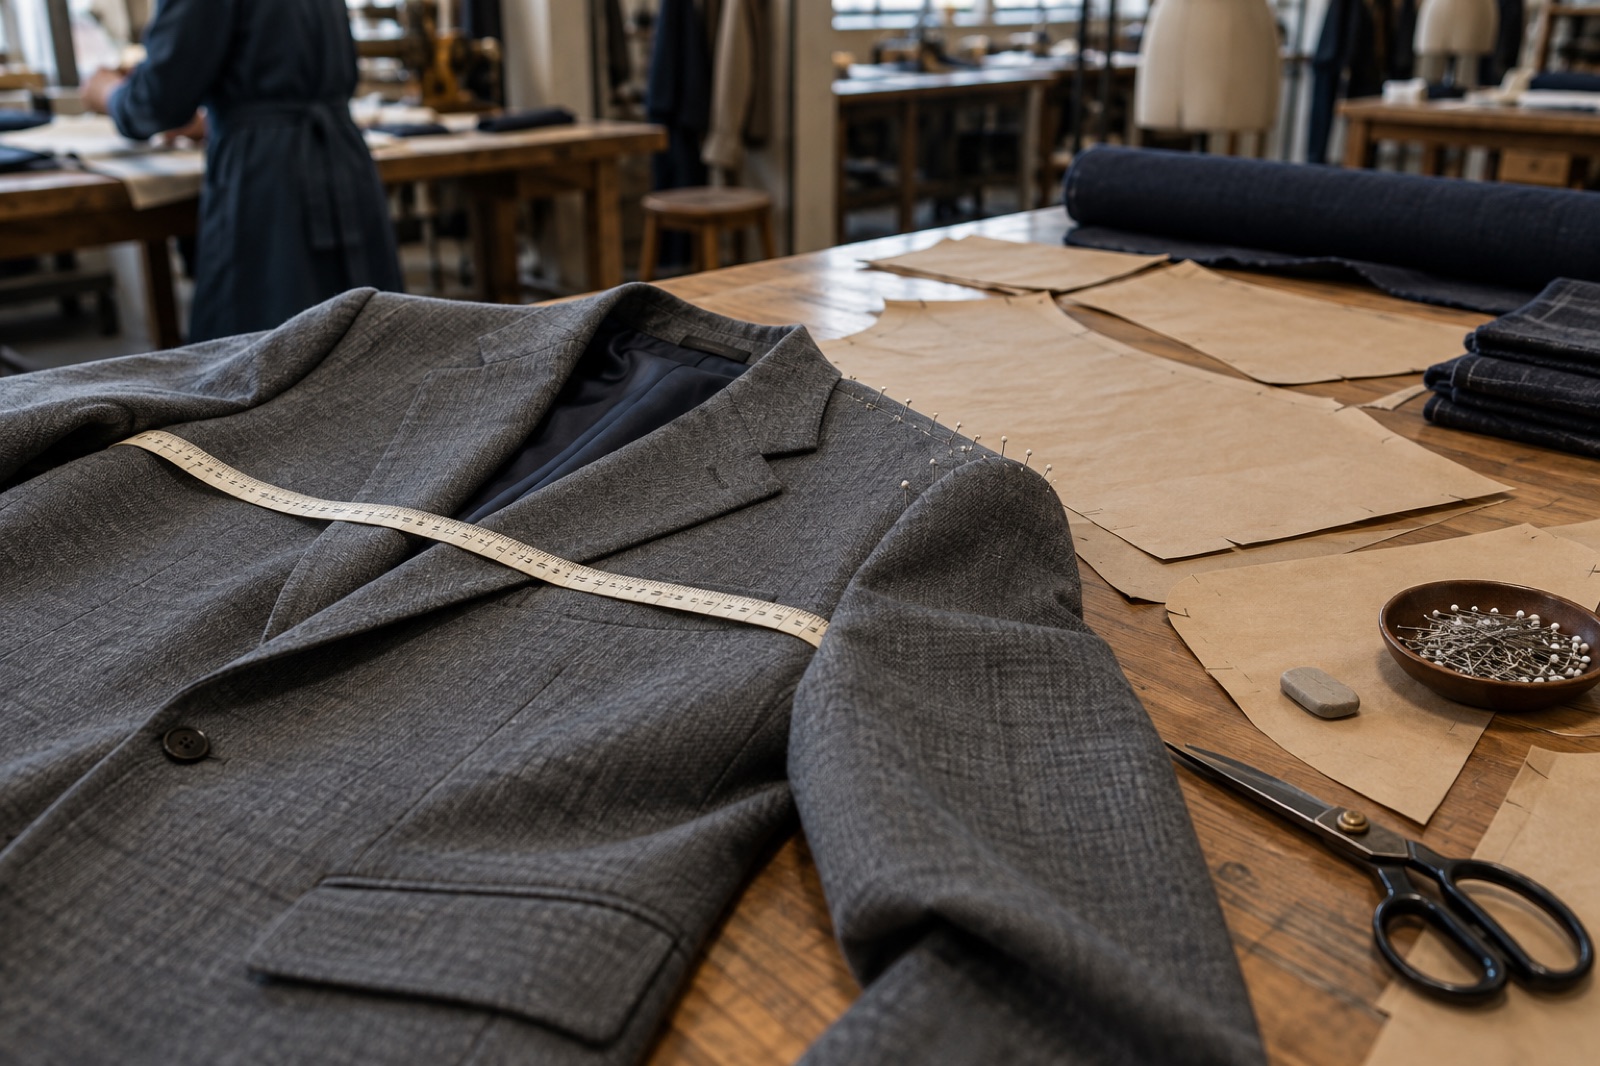
Journal Entry
Sending a Reference Garment: How a New Factory Matches the Suit Your Shop Already Sells
A measurement sheet tells a new factory what you measured. A reference garment tells it what those numbers were supposed to produce. How to pick, mark and send the right one.
She opened the box on camera, held the jacket up by the shoulders, put it on a dress form, and said it looks right. I asked her to turn it inside out. She did. She went quiet for about ten seconds, then said: this is not what we sell.
The construction was correct, the cloth was correct, and sixteen of the eighteen measurements were inside tolerance. But the shoulder sat differently. The jacket had a slightly squarer line where her shop sold a slightly softer one. The numbers had not caught it because the difference lived in the shape of the pattern, not in any single measurement field. A customer who had worn her jackets for three years would have noticed it the first time they put it on, and she knew it.
That is what a reference garment prevents. It carries the one thing a measurement sheet cannot: what the numbers were supposed to look like once they were cut and sewn. A spreadsheet tells a factory what you measured. A garment tells it what you meant.
How can a tailor shop get a new MTM factory to match the suits we already sell?
Send the factory a finished garment your customers already wear and approve, with its measurement sheet attached and the points your fitter adjusts most often clearly marked. The factory matches its own pattern to that garment and makes one trial piece before any volume moves.
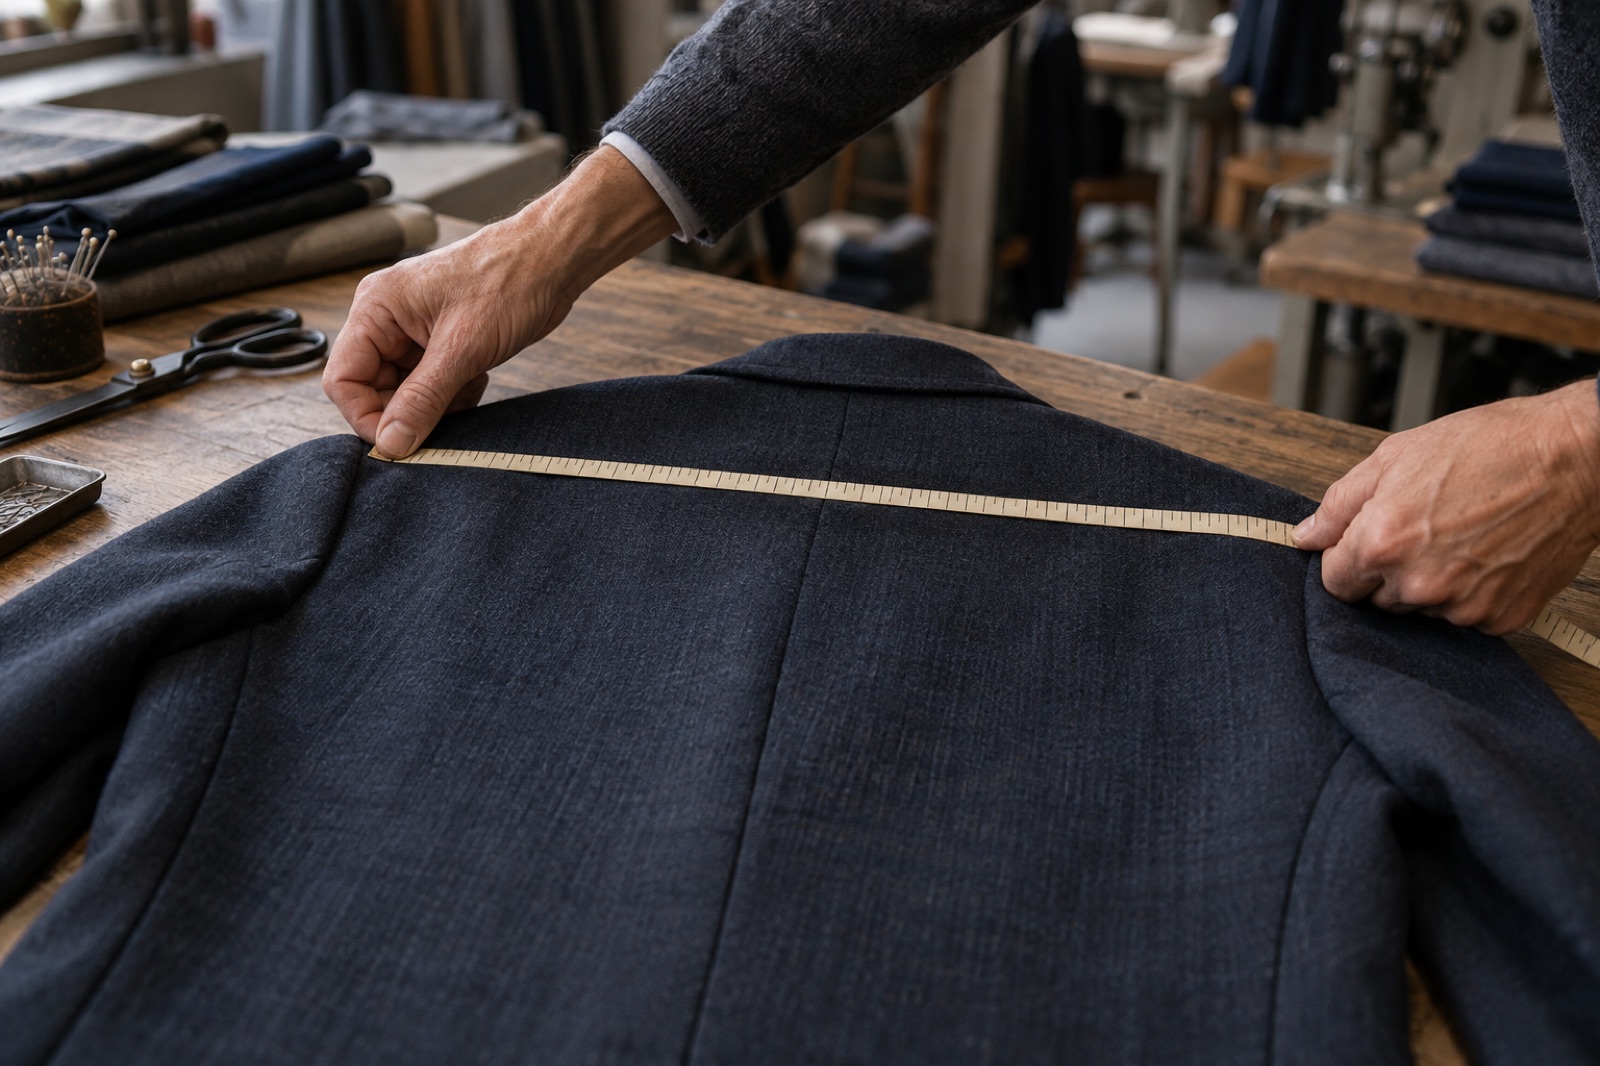
Measuring across the back of a reference jacket before matching the pattern.
This is not a complicated process, but it has a specific order, and skipping a step costs more time than doing it right the first time. The companion piece to this post, moving your customer measurements to a new factory, covers the data side: what travels in a spreadsheet, what gets lost, and how a new factory reads numbers it did not collect. This post covers the physical object. The garment itself.
Which garment to send
Pick the suit you sell the most. Not the one with the most complex construction, not the one in the most expensive cloth, and not the one you are proudest of. The best seller.
Your best-selling suit is the garment the most customers have worn and approved. It is the closest thing your shop has to a proven fit standard. If the new factory can reproduce that garment, it can reproduce the silhouette your customers already trust, which is the only thing that matters when you are switching suppliers and your regular buyers are still reordering.

A double-breasted suit from our range. The garment a shop sends as reference should be the one its customers know best.
If you send the most difficult piece instead, you are testing the factory's ceiling rather than its floor. A factory that nails a full canvas peak-lapel double-breasted may still cut a notch-lapel single-breasted with different ease at the waist, because a different pattern block handles it. Test the block your customers actually wear.
Send a garment that has been worn and pressed at least once, not a brand-new sample hanging in the back. A worn jacket shows how the cloth has settled, where the canvas has moulded, and what the shoulder looks like after real use rather than fresh off the pressing table. A brand-new sample shows how it left the previous factory, which is not the same thing and not what your customer knows.
If your shop sells more than one silhouette, pick one to start. A slim single-breasted and a relaxed double-breasted are two different pattern families. Match one first. The second reference garment can follow once the first trial passes.
What to mark before you pack it
Turn the jacket inside out and put a small piece of tailor's tape on every point your fitter adjusts regularly. If you shorten sleeves on every third order, mark the sleeve. If the seat on trousers comes back for adjustment more often than anything else, mark the seat. If your customers consistently ask for a slightly lower gorge, mark the gorge.
These marks tell the factory where your existing pattern and its base pattern are most likely to disagree. Without them, the factory has to guess which points matter most to your shop, and guessing is exactly what the whole exercise is meant to avoid.
A checklist of what to mark:
- Sleeve length and pitch. The two most commonly altered points on any jacket.
- Shoulder width and shape. Square, natural, or soft: the reference garment shows it, but mark it if your fitter regularly adjusts it.
- Waist suppression. How much the jacket comes in at the waist. If your customers regularly ask for more or less, mark the seam.
- Trouser rise. Front rise and total rise. If you adjust the seat on reorders, mark the back rise seam.
- Gorge height. Where the collar meets the lapel. A centimetre here changes the whole look of the chest.
Do not mark things that are not regular issues. The point is to flag the pattern differences that will matter, not to annotate every seam on the jacket.
What to attach
The reference garment does not travel alone. Attach three things.
The full measurement sheet for that specific garment. Not a generic size chart, not your standard body measurements, but the actual numbers that went into cutting that jacket and those trousers. Our own measurement system runs to 47 fields, 31 of them required, and what matters here is that the sheet matches the garment in your hand, not a customer.
Fit notes from the last two or three orders in that size. Any adjustments the fitter made after the garment came back. These are the tolerances your customers actually accept, and they are more useful than any tolerance chart a factory can print. If you noted that the last customer in this size needed half a centimetre off the right sleeve, that note tells the factory something the flat measurement does not.
The construction and cloth specification. Fused, half canvas, or full canvas. The cloth bunch number if you have it. The lining weight. This tells the factory what to match on the inside as well as the outside.
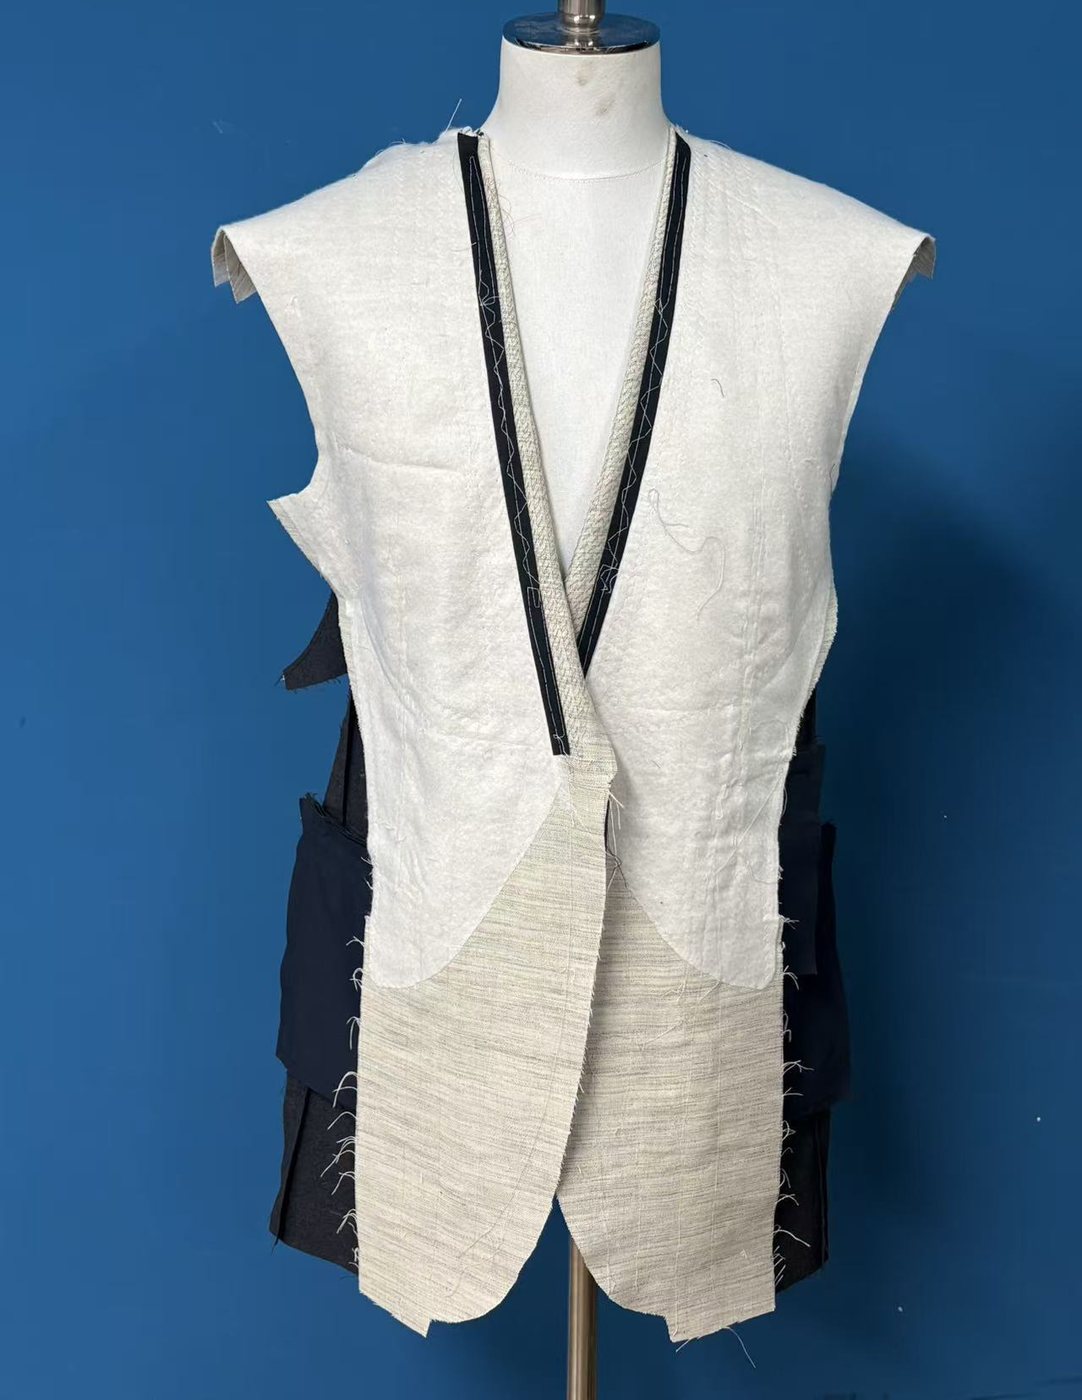
Full canvas carried to the hem. The reference garment should show the construction your shop sells, so the factory matches it exactly.
Together, these three documents and the garment itself form a complete brief. The garment shows what the numbers produced. The numbers show what the garment was supposed to be. The fit notes show where reality sat between the two. A factory that receives all four can match your existing product without guessing. A factory that receives only the spreadsheet is working from a quarter of the information.
What the trial piece should prove
We make one trial piece to the reference garment before anything else moves. One piece, one-piece minimum, 14 days in production from a confirmed order, shipping extra. The trial is not a sample in the usual sense. It is a direct comparison test: does this factory's pattern, cut from its own base block and adjusted to your reference, produce the same garment your customers already wear?
When the trial arrives, do not just try it on and decide it looks right. That is the mistake from the opening of this post. Measure it flat against the spec sheet, field by field. The full checklist for what to check on your first sample covers every step, from opening the jacket to matching the cloth to turning out the pockets. For a reference garment trial specifically, add one more step: put the trial piece next to the reference garment and compare them point by point at the marks you placed.

A finished suit from our range. The trial piece should match the reference at every marked point before volume moves.
Three things the trial should prove:
- The silhouette matches. Shoulder shape, waist suppression, lapel roll, trouser rise. Hold the two garments side by side on the same form.
- The construction matches. If the reference was half canvas, the trial is half canvas. Open it and check, do not assume.
- The measurements fall within tolerance. Every field, measured flat, against the agreed spec. Not against how it felt in a mirror.
If all three pass, the factory has proved it can reproduce your product. If any one fails, that is the conversation to have before a single customer order goes through, not after.
Once the trial passes, move customers one reorder at a time rather than all at once. The reference garment stays on file. Every early order gets compared against it until the factory's pattern is proven across enough sizes and body types that the garment is no longer doing the work on its own. The full sequence for migrating your customer data alongside this process is in moving your customer measurements to a new factory.
We stand behind every piece: if something isn't right, we make it right.
Frequently asked questions
How can a tailor shop get a new MTM factory to match the suits we already sell?
Send the factory a finished garment your customers already wear and approve, with its measurement sheet attached and the common alteration points marked. The factory matches its pattern to that garment and makes one trial piece to confirm the fit before any volume moves.
Which suit should I send as a reference garment to a new factory?
Send the one you sell the most, not the most complex or the most expensive. Your best seller is the garment the most customers have worn and approved, which makes it the most reliable proof of what your shop's fit actually looks like in practice.
What should I mark on the reference garment before sending it?
Mark the points your fitter adjusts most often: the alterations your customers regularly ask for. If you shorten sleeves on every third jacket, mark the sleeve. If the seat comes back for adjustment, mark the seat. These marks tell the factory where your pattern and its pattern are most likely to disagree.
Do I need to send measurements along with the reference garment?
Yes. Attach the full measurement sheet for that specific garment, not a generic size chart. The garment shows the factory what the numbers produced. The numbers show the factory what the garment was supposed to be. Together they are a complete spec. Apart they are two halves of the same question.
What should the trial piece from a new factory prove before I move volume?
Three things: that the factory's pattern reproduces your existing silhouette, that the construction matches what was quoted, and that the finished measurements fall within the tolerances you agreed on. Check the trial piece with a tape measure against the spec sheet, not just in a mirror.